Lighting Types: Essential Tips for Stunning Visuals
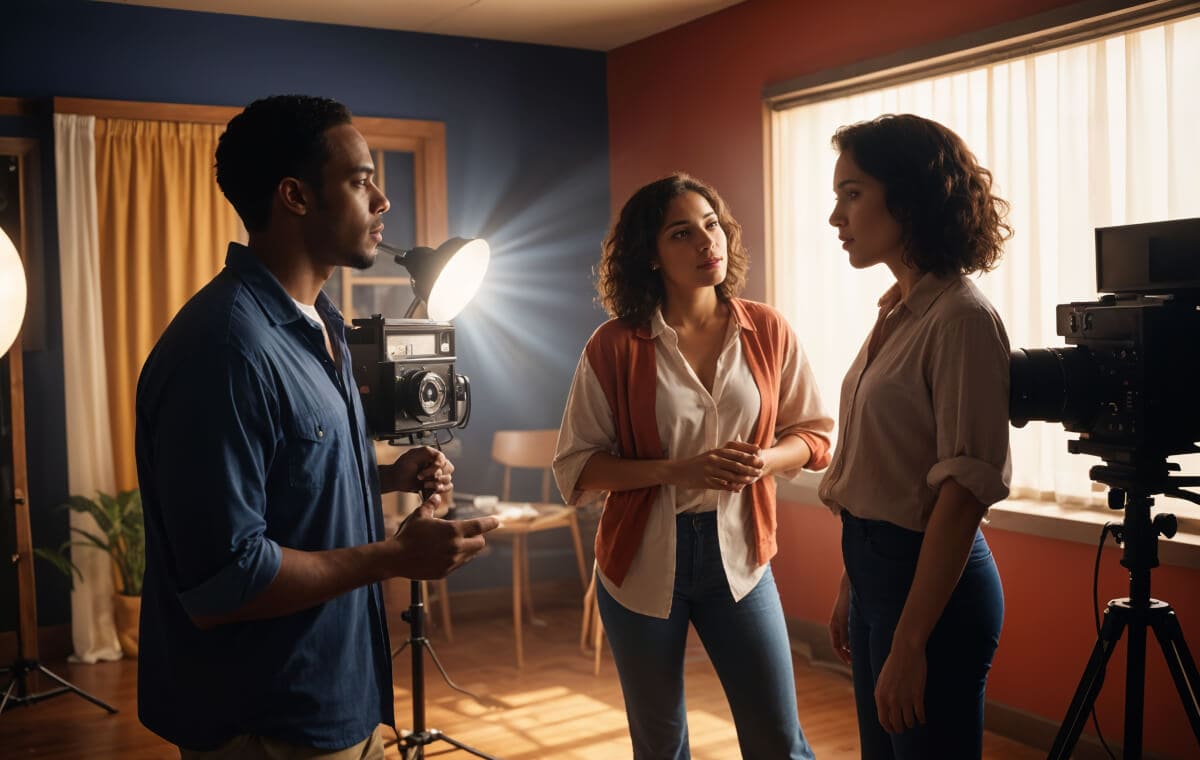
Lighting is the heartbeat of cinematography. It sets the mood, highlights the subject, and brings the story to life. In this article, we’ll explore the types of lighting that can transform your visuals from ordinary to extraordinary. Whether you’re a novice filmmaker or a seasoned professional, understanding natural, artificial, and mixed lighting is crucial for creating stunning visuals. Let’s dive in and illuminate your filmmaking journey!
Natural Lighting Types
Embracing the Sun
Natural lighting, primarily from the sun, is a filmmaker’s best friend. It offers a soft, natural glow that can make your scenes look authentic and visually appealing.
- Golden Hour Magic: The period shortly after sunrise and before sunset, known as the golden hour, provides warm, diffused light that’s perfect for shooting outdoor scenes.
- Overcast Days: Cloudy days can be a blessing in disguise as the clouds act as a giant softbox, diffusing the sunlight and creating even lighting without harsh shadows.
Tips for Harnessing Natural Light
- Location Scouting: Choose locations with ample natural light. Look for open spaces, large windows, and reflective surfaces to maximize light.
- Timing: Plan your shoots around the best natural light conditions. Early mornings and late afternoons are ideal for capturing soft, warm light.
- Reflectors and Diffusers: Use reflectors to bounce light onto your subject and diffusers to soften harsh sunlight. Reflectors can be as simple as a white foam board or a specialized silver or gold reflector to create different lighting effects.
Artificial Lighting Types
Mastering Studio Lights
Artificial lighting types gives you complete control over your lighting environment. This type of lighting is essential for indoor shoots and when natural light is insufficient.
- Key Light: The primary light source that illuminates the subject. It’s the most critical light in your setup.
- Fill Light: Used to fill in the shadows created by the key light, making the lighting more balanced and reducing contrast.
- Back Light: Placed behind the subject to separate them from the background and add depth to the shot.
Types of Artificial Lights
- Tungsten Lights: Provide a warm, yellow light and are often used in indoor settings. They have been a staple in film lighting for decades.
- LED Lights: Versatile and energy-efficient, LED lights come in various color temperatures and are great for both indoor and outdoor shoots. They offer adjustable brightness and color settings, making them highly adaptable.
- Fluorescent Lights: Emit a soft, cool light and are commonly used in video productions for even lighting. They are particularly useful in situations where you need consistent light over a large area.
Tips for Using Artificial Light
- Light Placement: Experiment with different angles and distances to find the most flattering light for your subject. Remember that the closer the light source, the softer the light will be.
- Color Temperature: Match the color temperature of your lights to the ambient light to avoid color inconsistencies. Use color meters to ensure accuracy.
- Modifiers: Use softboxes, umbrellas, and barn doors to shape and control the light. These tools can help you direct the light precisely where you want it and soften or harden it as needed.
Mixed Lighting Types
Combining Natural and Artificial Light
Mixed lighting types involves using both natural and artificial light sources. This technique allows for flexibility and creativity in lighting your scenes.
- Balancing Act: Ensure that the color temperatures of your natural and artificial lights complement each other. Use gels or color filters if necessary to achieve a harmonious look.
- Fill in the Gaps: Use artificial lights to fill in shadows or highlight specific areas that natural light can’t reach. This combination can create a dynamic and well-balanced image.
- Creating Mood: Combine different light sources to create a specific mood or atmosphere in your scene. For example, you can use natural light as the key light and artificial lights to create accents and highlights.
Tips for Mixing Lighting
- Consistency: Maintain a consistent color balance across all light sources to avoid unwanted color casts. Use a color checker to ensure all light sources match.
- Light Ratios: Play with light ratios to achieve the desired contrast and depth in your shot. A common approach is the 2:1 ratio, where the key light is twice as bright as the fill light.
- Experimentation: Don’t be afraid to experiment with different combinations of natural and artificial light to find what works best for your scene. Test different setups during pre-production to identify the most effective lighting scheme.
Practical Lighting
Everyday Light Sources
Practical lighting types refers to light sources that are visible within the scene, such as lamps, candles, or streetlights. These lights add realism and enhance the scene’s atmosphere.
- Lamps and Fixtures: Use household lamps or fixtures to add a natural feel to indoor scenes. They can act as both practical lights and part of your lighting setup.
- Candles and Firelight: Perfect for creating intimate or dramatic lighting effects. They produce a soft, warm glow that adds a cozy or mysterious ambiance.
- Streetlights and Neon Signs: Great for urban or nighttime scenes, adding a realistic touch to your setting. These lights can introduce color and texture to your scenes.
Tips for Practical Lighting
- Placement: Ensure practical lights are placed in a way that enhances the scene without overpowering the subject. Use dimmers or move them to adjust their intensity.
- Intensity: Control the intensity of practical lights using dimmers or by adjusting their distance from the subject. This helps integrate them seamlessly into your lighting setup.
- Integration: Seamlessly integrate practical lights with your main lighting setup for a cohesive look. Practical lights should complement, not compete with, your key and fill lights.
Color in Lighting
Setting the Mood
The color of your lighting can dramatically influence the mood and tone of your scene.
- Warm Colors: Reds, oranges, and yellows evoke warmth, passion, and comfort. They can make scenes feel inviting or intense.
- Cool Colors: Blues, greens, and purples create a sense of calm, mystery, or melancholy. They are often used in scenes meant to evoke contemplation or sadness.
- Neutral Colors: Whites and greys provide a balanced, natural look. They are versatile and can be used in a variety of settings to maintain a neutral tone.
Tips for Using Color in Lighting
- Color Gels: Use color gels to change the color of your lights and create the desired atmosphere. Experiment with different gels to see how they affect your scenes.
- Color Grading: Adjust the colors in post-production to fine-tune the mood and feel of your scene. Use color grading software to enhance or correct colors.
- Color Theory: Understand basic color theory to effectively use colors that complement or contrast with each other. This knowledge helps in creating visually compelling scenes.
Lighting Techniques
Three-Point Lighting
Three-point lighting is a standard technique that uses three lights to illuminate the subject.
- Key Light: The main light source.
- Fill Light: Fills in shadows created by the key light.
- Back Light: Separates the subject from the background.
Rembrandt Lighting
Named after the painter Rembrandt, this technique uses a single key light and a reflector or fill light to create a dramatic effect with a distinct triangle of light on the subject’s cheek.
Butterfly Lighting
This technique places the key light directly in front of and above the subject, creating a butterfly-shaped shadow under the nose. It’s commonly used for glamour shots and portraits.
Tips for Lighting Techniques
- Experiment: Try different lighting techniques to find the one that best suits your scene. Each technique offers a unique look and feel.
- Practice: Practice setting up lights and adjusting their positions to become proficient in various techniques. Repetition helps you understand how light behaves.
- Study: Study the work of cinematographers and photographers to learn how they use lighting to enhance their visuals. Analyzing their techniques can provide inspiration and insights.
Special Lighting Effects
Using Gels and Filters
Gels and filters can be used to create special lighting effects and enhance the mood of your scene.
- Colored Gels: Change the color of your lights to match the scene’s atmosphere. Gels come in various colors and can be layered to create custom effects.
- Diffusion Filters: Soften the light and reduce harsh shadows. They are essential for creating a more flattering and natural look.
- ND Filters: Reduce the intensity of the light without affecting its color. These are useful for controlling exposure, especially in bright conditions.
Creating Shadows
Shadows add depth and dimension to your scenes. Use gobos (go-betweens) to create interesting shadow patterns or block light to highlight specific areas.
Tips for Special Effects
- Subtlety: Use special effects lighting sparingly to avoid overpowering the scene. Less is often more when it comes to special effects.
- Storytelling: Ensure that any special lighting effects enhance the story and mood. They should serve the narrative, not distract from it.
- Experimentation: Don’t be afraid to try new techniques and effects to achieve the desired look. Innovation often comes from experimentation.
Lighting for Different Genres
Drama
For dramatic scenes, use high-contrast lighting with deep shadows and highlights to create tension and emphasize emotions. This lighting style helps convey the intensity of the story.
Comedy
Bright, even lighting works best for comedies. It keeps the mood light and ensures that facial expressions and actions are clearly visible. The goal is to create a welcoming and cheerful atmosphere.
Horror
Use low-key lighting with lots of shadows and minimal fill light to create a sense of fear and mystery. This lighting style helps build suspense and keeps the audience on edge.
Tips for Genre-Specific Lighting
- Understand the Genre: Know the conventions of the genre you’re working in and use lighting techniques that align with them. Research films in the same genre to understand their lighting styles.
- Mood Consistency: Maintain consistent lighting throughout the film to keep the mood intact. Sudden changes in lighting style can disrupt the flow of the story.
- Experiment: Don’t be afraid to push the boundaries and experiment with lighting types to create unique looks that enhance the genre. Innovative lighting can set your work apart.
Conclusion
Mastering the different types of lighting is essential for any filmmaker. From natural and artificial lighting to special effects and genre-specific techniques, each type plays a crucial role in bringing your vision to life. By understanding and applying these lighting principles, you can create stunning visuals that captivate your audience and elevate your storytelling. Keep experimenting, learning, and perfecting your lighting skills to become a true master of cinematography.